
Introduction to Website Checkout
PhonePe’s Standard Checkout API provides a secure and easy way to integrate a comprehensive payment solution into your website. It allows you to accept all major payment methods, including UPI, Credit/Debit Cards, and Net Banking. This integration ensures safe transactions by maintaining PCI DSS compliance by default, all while offering your customers a smooth, reliable, and non-redirective checkout experience.
To integrate PhonePe Payment Gateway into your website using the API integration method, here’s an overview of the user journey and checkout pages across different platforms.
For step-by-step guidance, watch the integration video.
You can fork the PhonePe Postman Public Workspace to explore and try out the Standard Checkout APIs.
User Journey
The following user journey illustrates the complete payment lifecycle to help you understand the integration flow clearly.

Prerequisites
Before you start the integration process, ensure you have:
- Access to PhonePe PG’s UAT (User Acceptance Testing) and Production environments.
- API credentials, including the Client ID, Client Version and Client Secret.
- A basic understanding of HTTP methods (GET, POST) and JSON.
- A testing environment to simulate payment flows.
Environments
Use the environment URLs below to integrate and test your API calls. The Sandbox environment is intended for testing and validation, while the Production environment should be used once your integration is live. Make sure to switch the base URL based on the environment you are working in.
| Environment | API |
| Sandbox | https://api-preprod.phonepe.com/apis/pg-sandbox/<Endpoint> |
| Production | Authorization API: https://api.phonepe.com/apis/identity-manager/<Endpoint> Other APIs: https://api.phonepe.com/apis/pg/<Endpoint> |
📘 Test Before Production!
To ensure a smooth integration, please integrate with the Test environment first and then move to production.
API Endpoints
| API | Method | Endpoint |
| Authorization | POST | /v1/oauth/token |
| Create Payment | POST | /checkout/v2/pay |
| Order Status API | GET | /checkout/v2/order/{merchantOrderId}/status |
| Refund | POST | /payments/v2/refund |
| Refund Status API | GET | /payments/v2/refund/{merchantRefundId}/status |
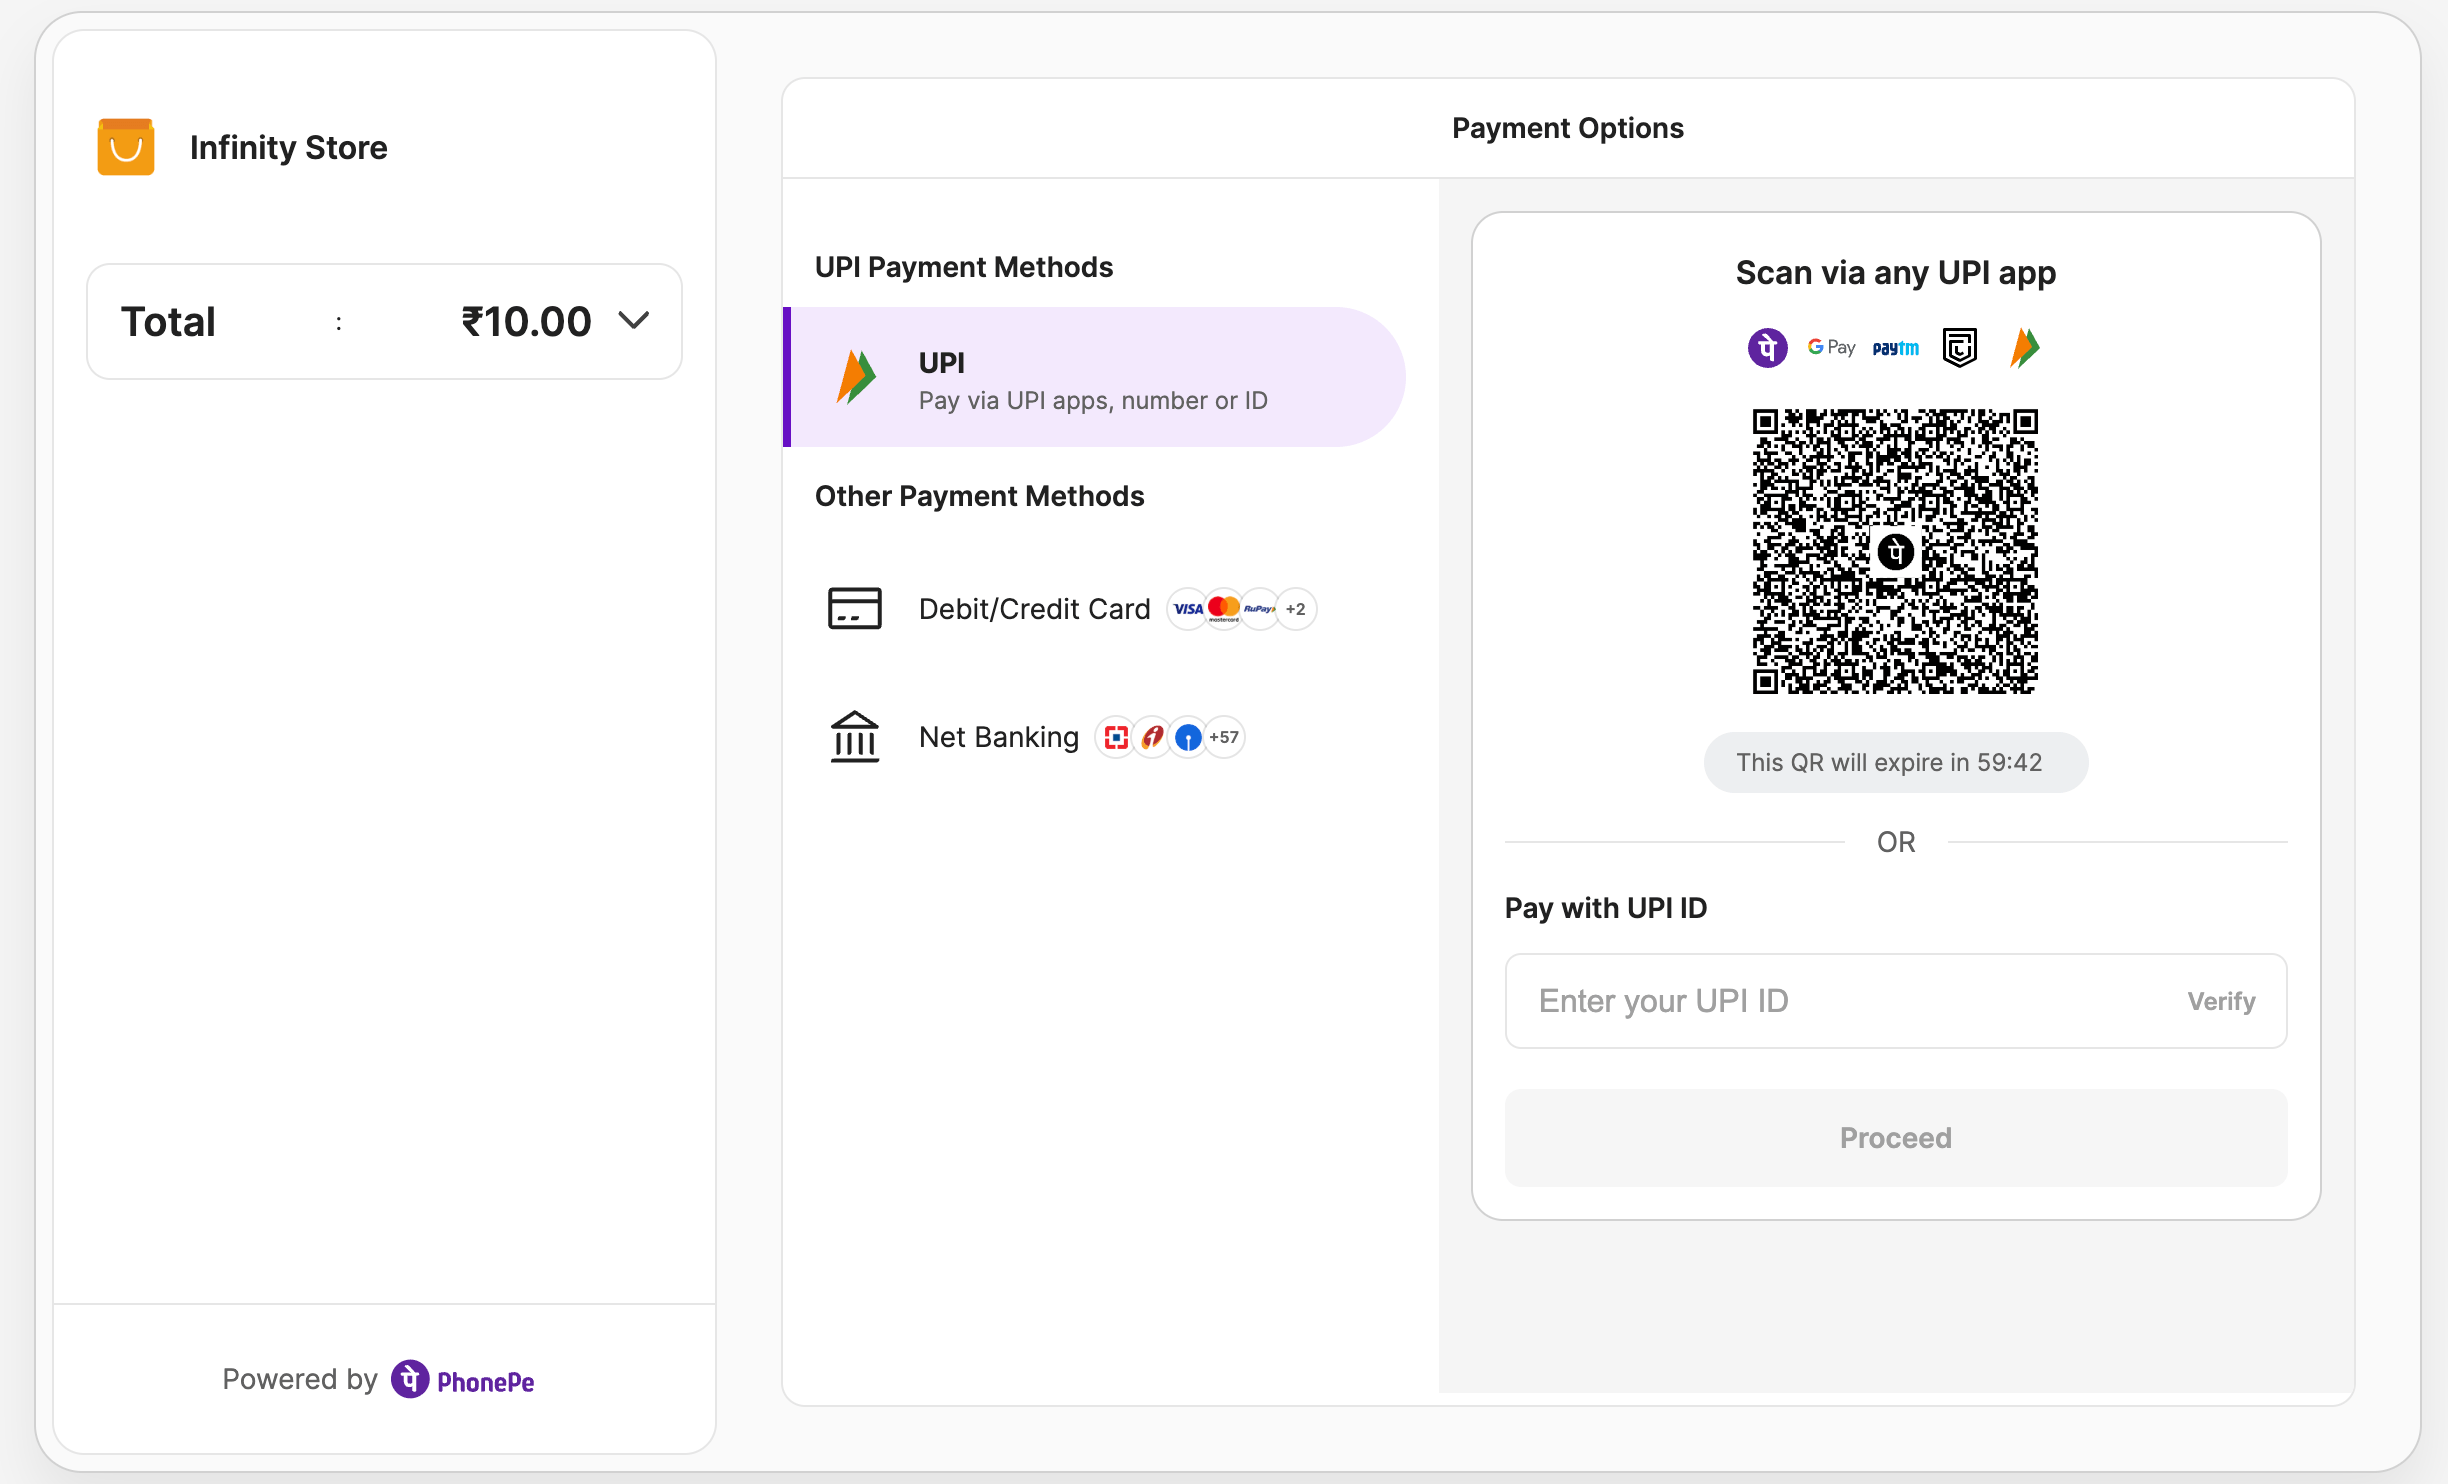
Checkout Page
The checkout pages are optimized for both desktop and mobile views. Users can complete payments using UPI ID, NetBanking, or Cards on either view, while QR-based payments are available only on the desktop view. Below is a preview of the checkout experience on both desktop and mobile.
Desktop View
Mobile View

What’s Next?
Now that you’re familiar with the environment setup and APIs, you can start the integration process. The next section will walk you through the Integration Steps to help you build the checkout experience seamlessly into your website.


